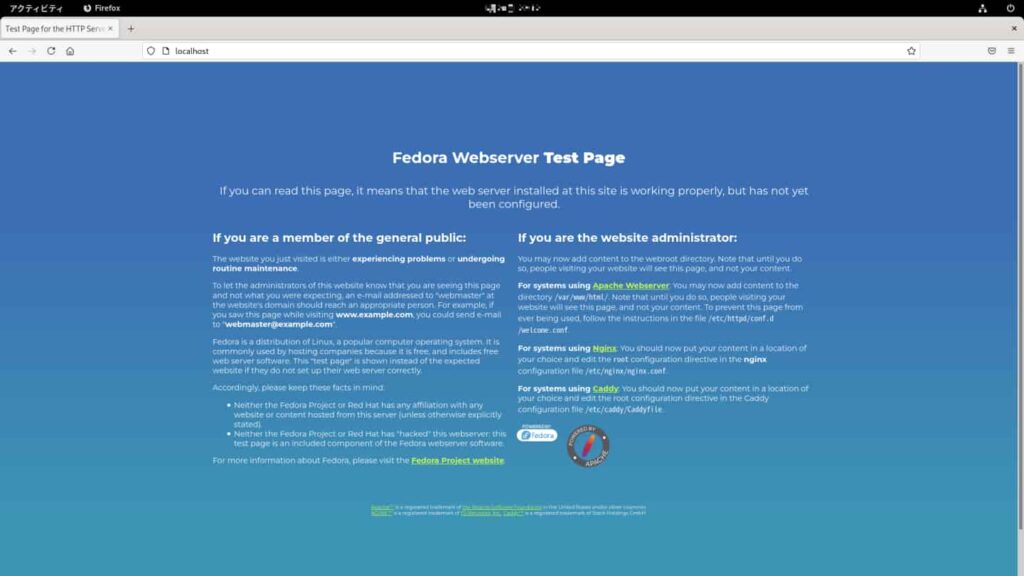
Apacheを使ってWebサーバ構築
ひとまずWebサーバを起動したいという事であれば、非常に簡単に起動させることができます。
いったんここではセキュリティーなどの設定は置いておいて、起動だけする場合の最低限の設定内容を記載します。
目次
Apacheのインストール
httpd.confの設定
Apacheインストール
Apacheのインストールを行います。Fedoraでのサービス名は「Apache」ではなく「httpd」となっているのでhttpdをインストールします。
dnf -y install httpdhttpd.conf設定
インストールが完了したら/etc/httpd/conf/httpd.confを修正します。
基本的には2カ所「ServerAdmin」と「ServerName」を変更すればOKです。
# ServerAdmin: Your address, where problems with the server should be
# e-mailed.  This address appears on some server-generated pages, such
# as error documents.  e.g. admin@your-domain.com
#
ServerAdmin root@localhost
     ↓
ServerAdmin root@caramelsauce.info
# ServerName gives the name and port that the server uses to identify itself.
# This can often be determined automatically, but we recommend you specify
# it explicitly to prevent problems during startup.
#
# If your host doesn't have a registered DNS name, enter its IP address here.
#
#ServerName www.example.com:80
     ↓
ServerName caramelsauce.info:80 ServerAdminディレクティブ
Webページでエラーなどが起こった際に連絡先として表示等を行う設定になります。
設定方法
ServerAdmin [メールアドレス]
ServerNameディレクティブ
このApacheで起動するサーバー名(URLとして使いたい名前)とポート番号を記載します。
ここではホスト名なしでcaramelsauce.infoとしていますが、www.caramelsauce.infoなどでもよいです。
これはDNSやhostsなどのネットワーク環境によります。
設定方法
ServerName [FQDN]:[ポート番号]
これだけ設定してApacheを起動します。
systemctl start httpd更に別の端末からIPアドレスやFQDNを使ってアクセスしてアクセス出来ればネットワークやFireWallも問題ない。という事になります。
Apacheの起動が確認出来たら、VirtualHostの設定を行って1つのサーバで複数のホームページを立ち上げてみましょう。

